


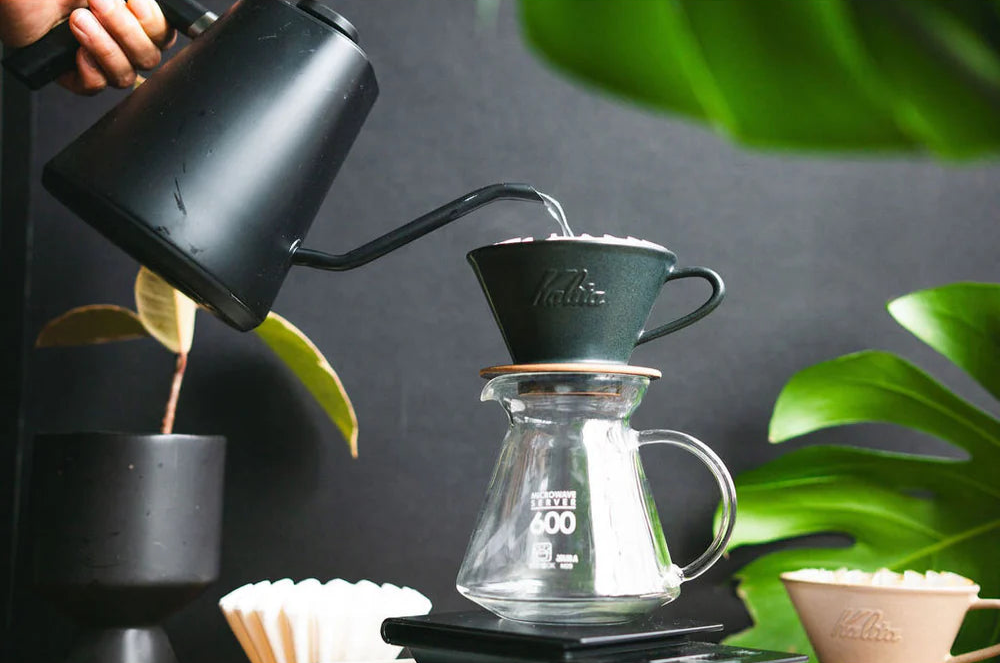
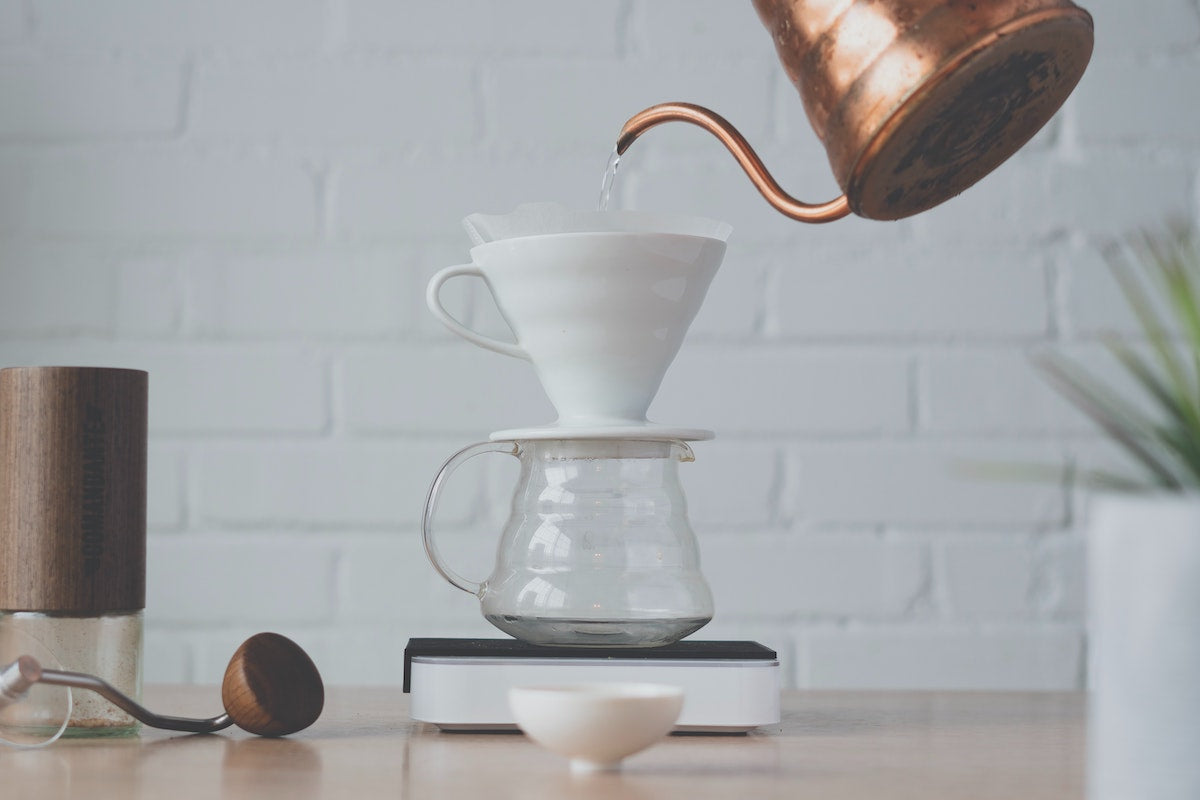
Pour Over (Hario V60 Method)
The pour over is a manual brewing method that’s as much about the process as it is the result. While it requires your attention, the reward is a beautifully nuanced cup—clean, balanced, and bright. Whether you’re new to pour over or a seasoned enthusiast, this recipe will guide you through a consistently great cup, every time.
☕ Who's it for?
Pour over may seem like a lot of work for those used to automatic drip machines, but we promise—once you get the hang of it, the process becomes a soothing daily ritual. The trickiest part is perfecting your grind size, but we’re here to help you dial it in.
We reach for our V60 when brewing light to medium roasted coffees, especially single origin coffees and those with delicate and nuanced flavors. The paper filters in the V60 often produce a lighter-bodied coffee with bright clarity—perfect for highlighting unique tasting notes.
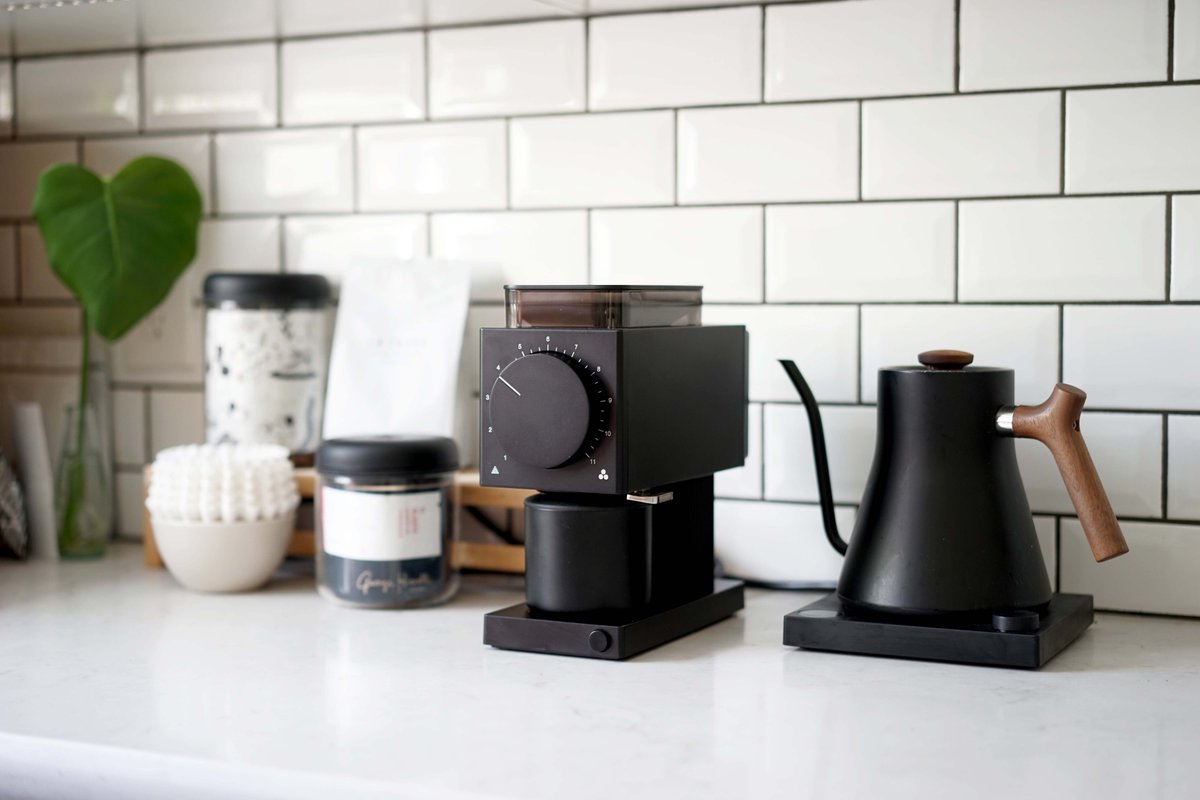
📋 What You'll Need
- Freshly Roasted FreeForm Coffee
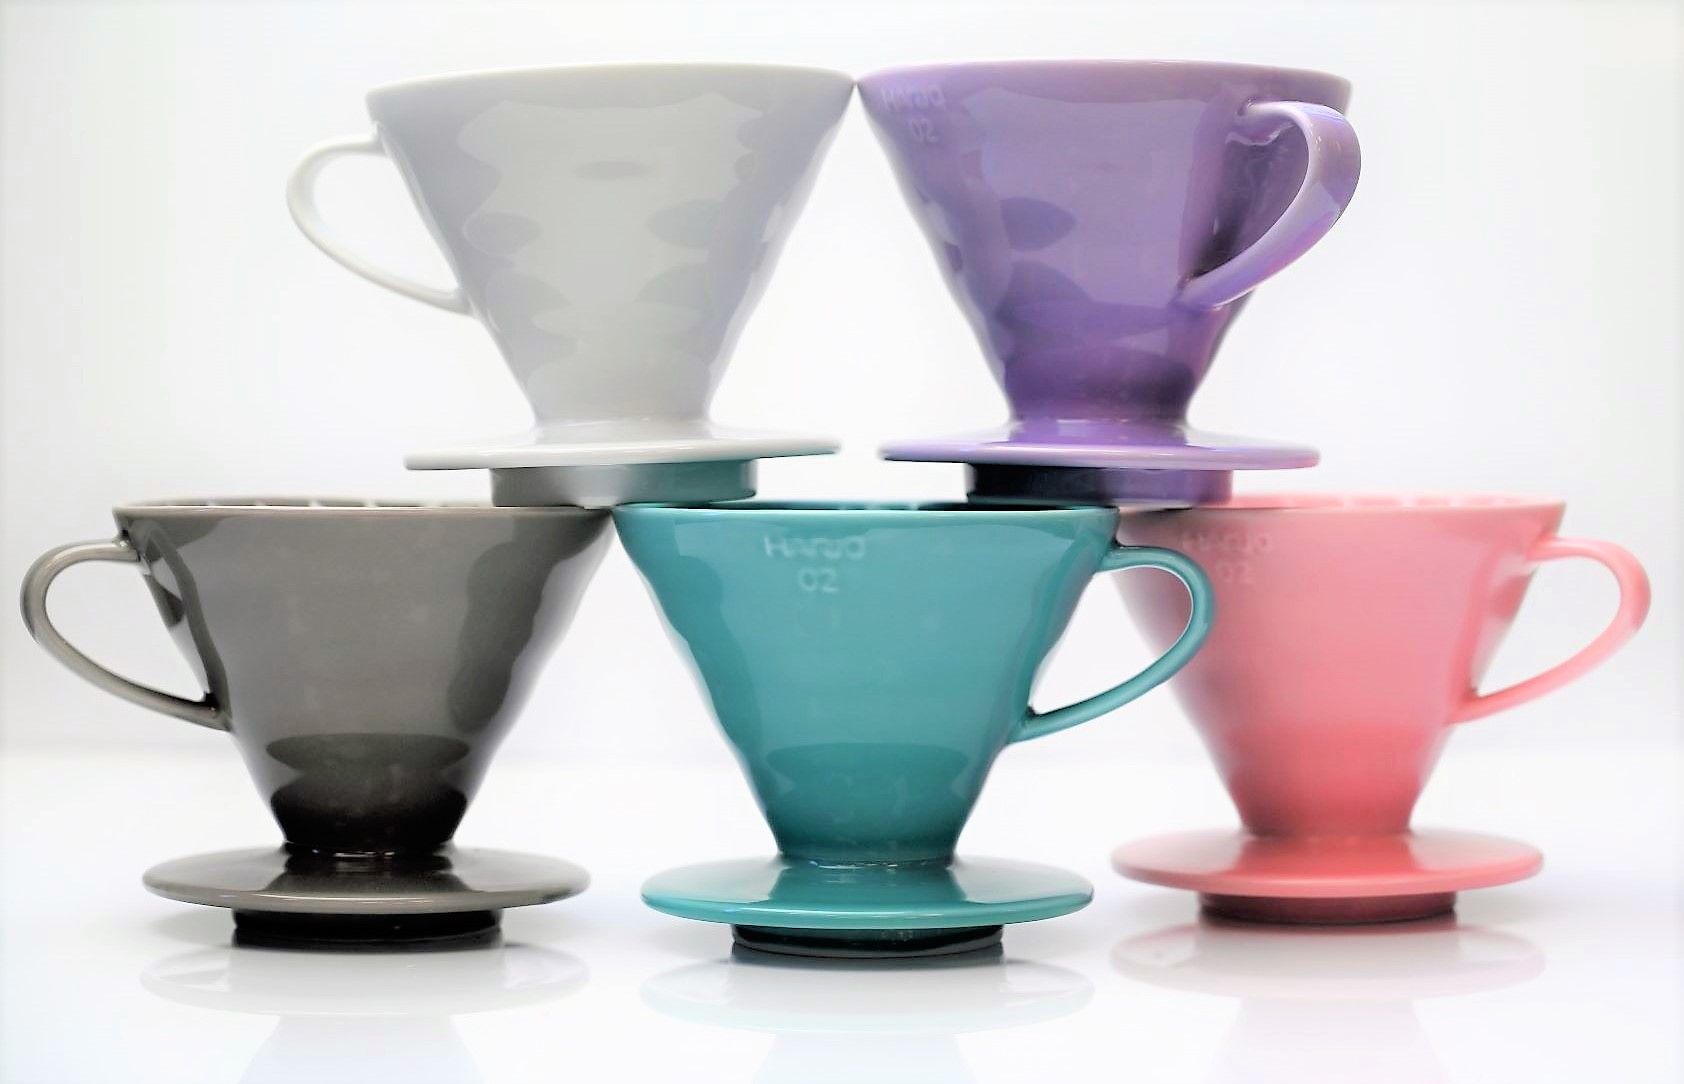
- Hario V60-02 Ceramic Coffee Dripper
- Gooseneck kettle
- Burr Grinder
- Gram Scale
- Timer
- Filtered Water
- Spoon or stir stick
- Hario V60-02 Paper Filter
📖 Step-by-Step Recipe
- Heat Water: Bring ~0.5L of filtered water to 200°F (just below boiling).
- Prep Your Filter: Place the paper filter into the dripper, folding the sealed portion to create a perfect cone. Place the dripper on top of your serving vessel or mug. Pour hot water through the filter to rinse it and preheat your vessel. Discard the water.
- Grind Coffee: Grind 22g of coffee at a medium-fine setting. The grind should feel like fine sea salt. Place the coffee in the filter and shake gently to level the bed.
- Bloom: Place the dripper on a scale, tare it to zero, and start your timer. Pour 50g of water in a slow, circular motion over the grounds, ensuring all are saturated. Let the coffee “bloom” for 30 seconds—this is when the magic starts, as the coffee releases carbon dioxide.
- First Pour: At 30 seconds, pour gently in a spiral pattern, adding 100g of water to reach 150g total. Stir the slurry gently with a spoon or stir stick, and let the coffee begin to drain.
- Second Pour: At 1:15-1:30, pour another 100g of water to reach 250g. Stir gently once or twice, then let the coffee continue to drain.
- Final Pour: At 2:00-2:15, pour the final 102g of water to reach 352g total. Let the coffee drain completely (around 3:30), then remove the dripper.
- Enjoy: Stir your coffee gently, let it cool for a minute or two, then savor each sip of your perfectly brewed pour over.
🔑 Key Notes
- Water-to-Coffee Ratio: We’re using a 16:1 ratio (16g water for every 1g of coffee). Feel free to experiment to find your sweet spot—different coffees may shine at higher or lower ratios.
- Total Brew Time: Aim for a total brew time between 3 and 4 minutes. If your brew time is off, adjust your grind: finer for a longer brew, coarser for a shorter brew.
- Grind Fresh: Freshly ground coffee makes all the difference. If you’re using pre-ground coffee, you’re missing out on the full flavor potential. We highly recommend investing in a burr grinder—it’s the best first step toward better coffee.
- Use a Scale: Consistency is key, and using a scale ensures you get the right amount of coffee and water every time. Measuring by weight gives you precision, helping to brew a cup that’s perfectly balanced.
⚠️ Troubleshooting & Tips
- Brew Too Fast? Try a finer grind next time to slow the extraction.
- Brew Too Slow? Coarse up your grind to speed things up.
- Tasting Bitter? It might be over-extraction—try a slightly coarser grind or a shorter brew time.
- Tasting Sour? This could be under-extraction—use a finer grind or brew a bit longer.
👍 Happy Sipping!
Pour over is more than just a brewing method—it’s a ritual that invites you to savor every step. As you refine your technique, you’ll discover new flavors and aromas in each cup. And don’t worry if your first attempt isn’t perfect—great coffee is all about the journey.
Read more
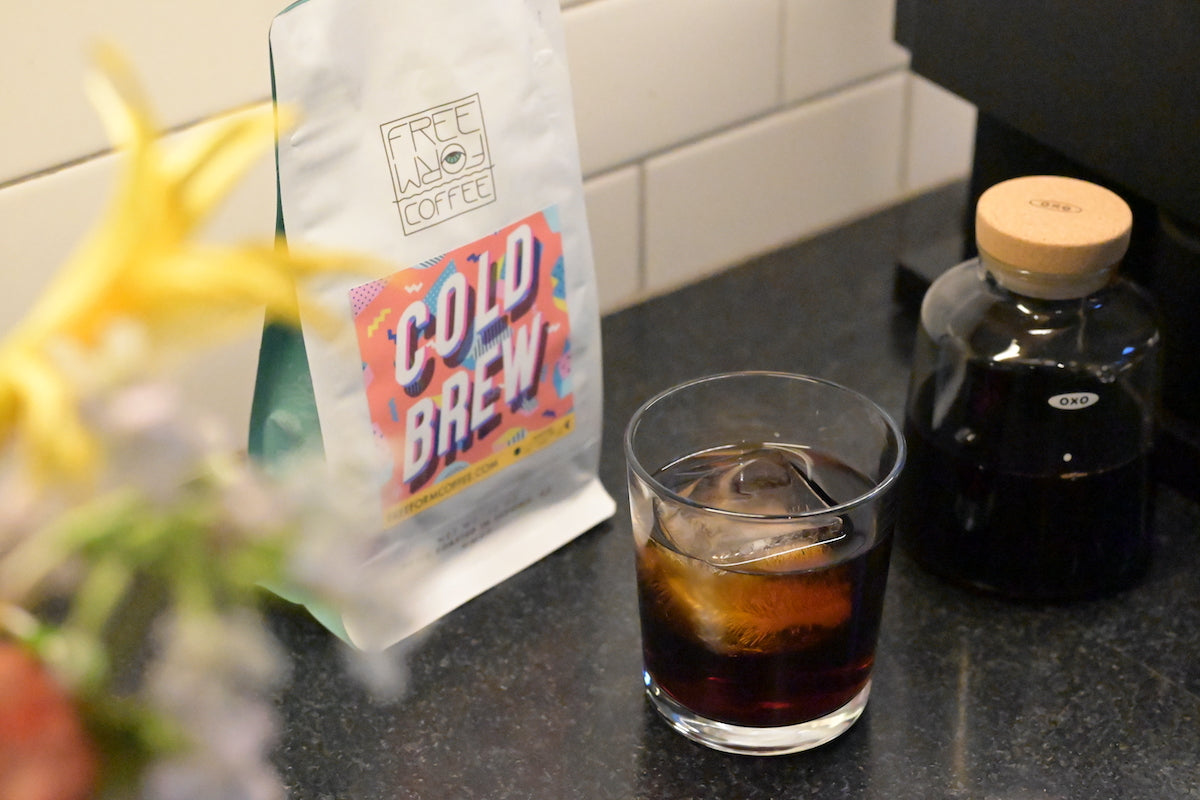
Cold brew is an incredibly refreshing and versatile coffee brewing method that’s easy to make at home with just a bit of patience. By brewing cold, you extract a smooth, rich coffee concentrate wit...
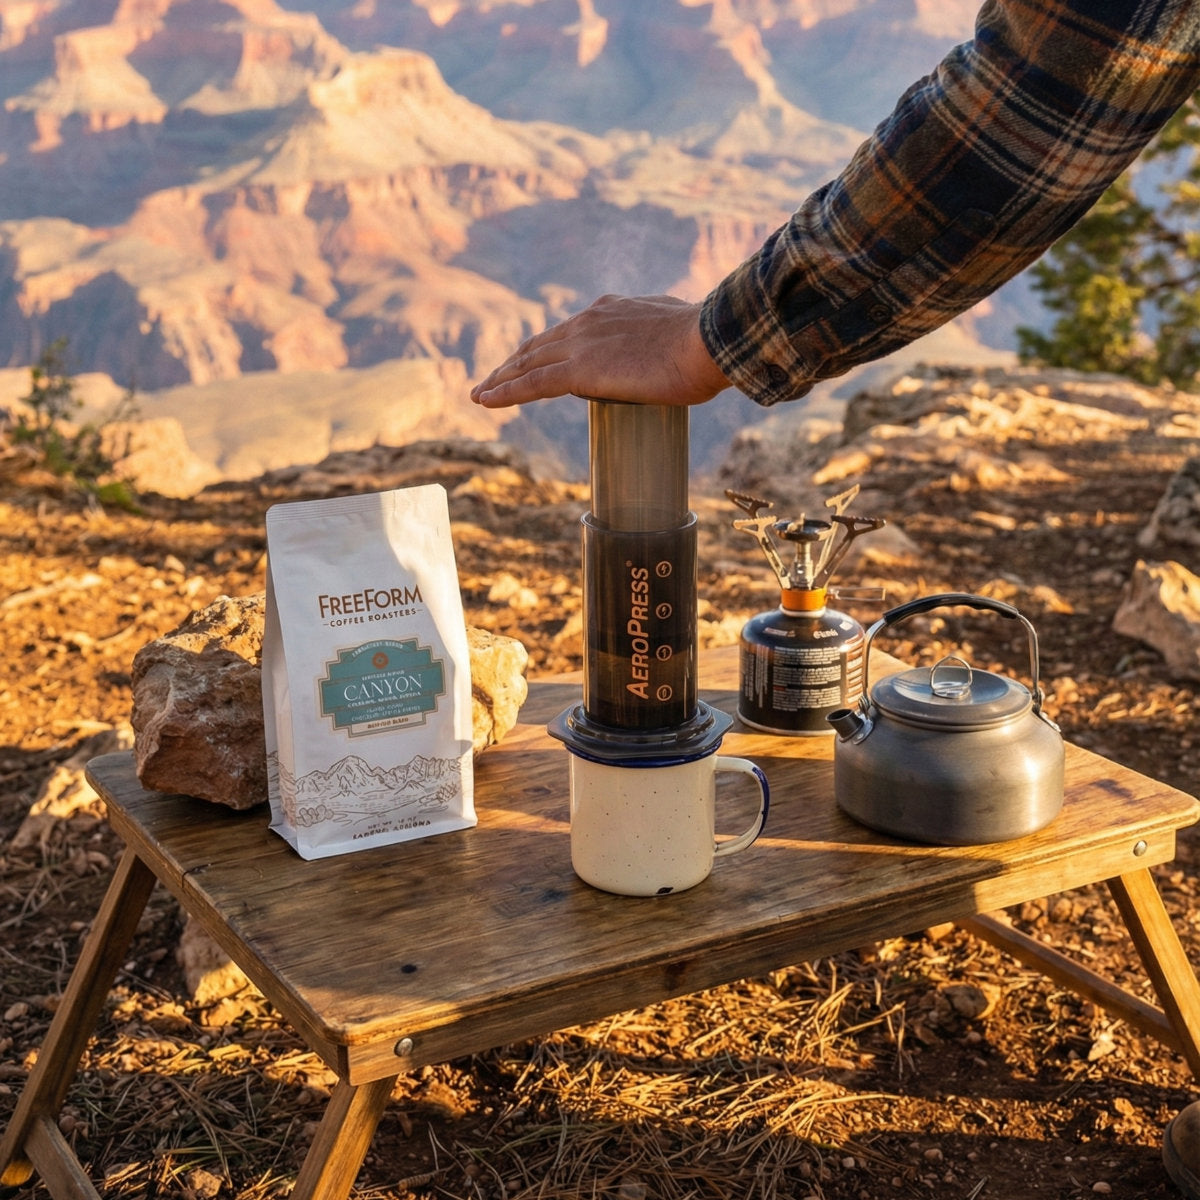
The Aeropress is a fantastic coffee brewing device, perfect for making a single cup whether you're at home, on the road, or out in nature. The beauty of the Aeropress lies in its compact size, sim...